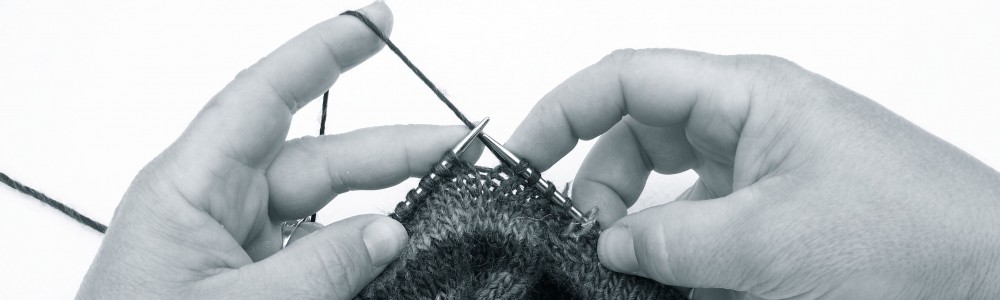
Normally I teach with a video camera focused on my hands. The projector I connect it to projects large hands onto the screen behind me, so students can see a close-up of techniques. All of us are on the same page at the same time. I can still be facing the students and talking to them. I love it.
This past weekend at Stitches East, a disaster struck and I had to do some trouble shooting. (By the way, this post is meant to be potentially helpful to other teachers. The rest of you will find it a big yawn.) My Canon videocamera broke. No tears were shed, but my heart sank. I’d like to share what ended up working in its place, with a few enhancements I only had time to figure out once I got home.
First off, a big thank you to Hartford resident and Stitches student Marna, who saved me with, “Hey, here’s my number. I drive by Best Buy on the way to Stitches, and if you find anything there that will help you, let me swing by and pick it up for you.” I did, and she did.
Following is my big-hands-in-motion materials list:
- (From the event venue- make sure you have a power strip, cart, and a screen. The power strip gives juice to your phone and the projector. The rest is up to you.)
- A stand, or a tripod with an arm. It’s best if the thing fits in your suitcase, can rest on a table, and can hold your smartphone about 18 -24 inches above the tabletop, aimed straight down. I have a dress form stand instead of a tripod. I leave the body at home stuffed in a closet and take just the stand. Its three legs lay flat on the table, out of the way. The hemline tool, which swings out and around, is what I use to attach my phone.
- Two tiny adorable little bungie cords. One firmly attaches my phone to the arm. The other collects the cords up and out of the way.
- iPhone. I have a 5. Settings to use: set camera app to video (not camera) | light set to ON, which illuminates your hands below | hold finger on screen to lock the focus (This I only discovered now. At the show it kept autofocusing, annoying us all.) And don’t reverse the camera or your students get a nice view of the ceiling or perhaps up your nose. Zoom in close enough for folks to see, then find the perimeter of the area of the table you must stay in to not have your hands drift out of view. Put sticky notes on the table to mark your work zone.
- Adapter. For me, I got the Apple174 Lighting to HDMI adapter. Model MD826ZM/A purchased from Best Buy. One end into your phone. The adapter end has HDMI and, a happy surprise, another lightning port so I could keep my phone plugged in as I worked using the phone’s charging cord. Plug it into the power strip. It was only eight inches long though, so I also needed a
- HDMI – HDMI cord about 40 inches long. This was my “extension cord” to reach the HDMI port on my projector.
- Projector. This year I bought a ViewSonic PJD5134. I plug it in. I plug in the HDMI cord from the phone (could also use VGA, so look into that.) Not all projectors have HDMI ports. Use the settings to select HDMI as the source. You can adjust kerning. Adjust focus. And, also discovered only now, I can adjust the zoom to fill the screen instead of pulling the table further back from the screen as I did this weekend. Duh.
To my students who put up with me as I figured this out- thanks for your patience. Next week I’ll be using it at Vogue Live Chicago as well. To any teachers who want to check it out, ask when we meet at events, or find me in class.
I would have taken a picture of the whole setup for you, but my iPhone was otherwise occupied. Protip- also bring something else to tell time.